


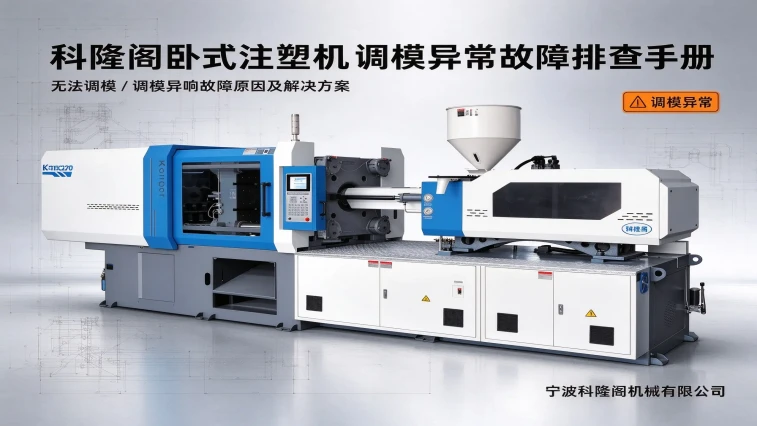
I. Fault Phenomenon 1: Unable to Adjust the Mold (no mold-adjusting action, pressing the mold-adjust button does nothing)
Possible Causes
Safety circuit / door limit not closed
Safety door, front/rear safety door travel switch poor contact, broken wire or looseness; safety relay not energized, PLC prohibits mold-adjust output.Mold-adjusting parameter / mode setting error
Mold-adjusting pressure or flow set too low; mold adjustment locked (mold-adjust lock parameter enabled); manual mode not activated; some models require injection retraction and clamping origin in place before mold adjustment is allowed.Hydraulic model: oil circuit / valve group fault
Mold-adjust solenoid valve coil burnt out or spool stuck; mold-adjust relief valve pressure set too low; oil pump pressure insufficient; oil pipe blocked or leaking, pressure cannot build up.Electric mold-adjust model: power and communication fault
Mold-adjusting servo drive alarm, servo motor failure; mold-adjusting servo encoder broken wire or communication abnormality; servo enable not turned on.Mechanical seizure (most common)
Large tie-bar nut seized, thread short of oil and rusted; mold-adjust nut stuck; platen guide post pulled or foreign matter jammed; mold not fully opened, platen pressing against the mold causing the mold-adjust load to exceed the limit.Electrical signal problem
Mold-adjust origin sensor / proximity switch damaged or displaced; PLC has no mold-adjust output signal; contactor, relay contacts burnt.Load protection triggered
Overload protection, current protection, pressure protection triggered, system directly cuts off mold-adjust output.
Corresponding Solutions
Check the front and rear safety door switches, confirm the doors are closed in place and the wiring is intact, replace damaged travel switches, and reset the safety relay.
Enter the parameter page: release the mold-adjust lock; appropriately increase the mold-adjust pressure / flow; confirm the machine is in manual mode; check the clamping origin and injection unit position conditions.
Hydraulic machine: check the mold-adjust solenoid valve, clean the spool or replace the coil; re-calibrate the mold-adjust relief valve pressure; check the oil pump and pipelines for leakage and blockage.
Electric mold adjustment: check the servo drive alarm code; check the servo power line and encoder line; restart the servo and redo the servo origin reset.
Mechanical seizure:
First fully open the mold, remove the mold, and test mold adjustment under no load;
Clean the tie-bar threads and apply high-temperature grease;
Check the tie-bar nuts; for slight seizure, release them by jogging in low speed in both directions; for severe seizure, dismantle for repair.
Use a multimeter to check the PLC output and relay contacts; adjust or replace the origin proximity switch.
Check the system alarm records, clear the overload alarm, and investigate the root cause of overload (prioritize mechanical seizure).
II. Fault Phenomenon 2: Mold Adjustment Works, but Abnormal Noise During Mold Adjustment (noise, clicking, friction sound, buzzing whistle)
Distinguish the sound type to quickly locate: metal impact clicking / friction squeaking / motor / hydraulic whistling
Possible Causes
Poor mechanical lubrication
The threads of the four tie bars lack grease, causing dry friction and “squeaking, rustling” friction sounds; the mold-adjust nut is short of oil and worn internally.Tie-bar nut wear, uneven clearance
The four mold-adjust nuts wear inconsistently, causing eccentric load during mold adjustment and periodic clicking noise; nut threads pulled or containing iron filings.Mold-adjust reduction gearbox / gear wear (common in electric mold adjustment)
Reduction gearbox gears lack oil, pitted or broken teeth, producing periodic “clunk clunk” during mold-adjust rotation; bearing damage.Mold-adjust servo motor / hydraulic pump whistling
Servo motor whistles under excessive load; during hydraulic mold adjustment, unstable throttling of the mold-adjust valve or air bubbles in the oil produce high-frequency buzzing whistling.Friction between the platen guide bush and guide post
Guide bush short of oil or pulled, producing friction noise during forward/backward movement of mold adjustment; guide bush worn eccentric.Foreign matter entering the thread pair
Iron filings, oil stains and impurities stuck between the tie-bar threads and mold-adjust nut produce intermittent impact noise during rotation.Unbalanced mold-adjust force
The four tie bars have inconsistent tightness, causing the platen to tilt during mold adjustment with one-sided force impact; the mold not fully released and forced mold adjustment under load.Chain-driven mold adjustment models: chain loose or worn
Chain too loose causing tooth skipping and clicking impact sounds; chain lacks oil.
Corresponding Solutions
Stop the machine and cut power, clean the old grease from the tie-bar threads, apply special high-temperature grease, and manually turn the nuts to confirm lubrication is complete.
Check the wear of the 4 tie-bar nuts and clean iron filings; correct the preload of the four tie bars to ensure synchronized force; replace the nuts if the threads are severely pulled.
Check the oil level and quality of the electric mold-adjust reduction gearbox; directly replace the gearbox / bearing if the gears are damaged.
Hydraulic model: check the hydraulic oil level and quality, vent air; clean the mold-adjust solenoid valve to stabilize mold-adjust pressure and flow; electric model: troubleshoot the servo load and check the servo parameter gain.
Add lubricating oil to the guide posts and bushes; repair or replace guide bushes that are severely pulled.
Disassemble and clean iron filings and impurities inside the thread pair, check for chipping wear, and filter the hydraulic oil if necessary.
Perform a no-load mold-adjust test and re-correct the four tie bars to ensure platen parallelism; prohibit forced mold adjustment with the mold mounted.
Chain-type mold adjustment: adjust the chain tension, apply chain lubricating oil, and replace the chain if severely worn.
III. Quick Troubleshooting Sequence (standard maintenance procedure, can be directly placed in documentation)
Confirm the alarm information and record the PLC / servo alarm code
Confirm the safety door and operation mode, and confirm whether the mold-adjust prerequisites are met
No-load test (remove the mold): determine whether the noise / inability to adjust is a [mold cause] or [machine body mechanical / hydraulic / electrical]
Observe the mold-adjust pressure and current curves to determine whether there is overload
Listen to the noise location: distinguish between the tie-bar nut area / gearbox / servo motor / valve group oil pump
Lubricate and clean the thread pair, and check the tie-bar nuts
Troubleshoot the electrical / oil circuit / servo one by one
After repair, run a no-load trial, then test mold adjustment with the mold mounted
IV. Safety Precautions (must be added)
Before mold-adjust repair, stop the machine, cut off the main power, relieve pressure, and hang a maintenance warning sign to prevent misoperation.
Strictly prohibit forced mold adjustment while the mold is clamped and locked, which can easily damage the tie bars and nuts.
During the no-load test, personnel must stay away from the platen movement area.
System pressure must be released before handling hydraulic components.